Every hunter who has been at it long enough has a story about a deer that was harder to find than it should have been. Recovering what you shoot is part of the deal, and it starts before you ever climb down. Realtree has a long-running guide with 20 tips for blood trailing deer, and its basics hold up for rifle, shotgun, muzzleloader and bow hunters alike.
Here’s how those fundamentals line up, along with some practical notes for the thick cover so many Southeast hunters deal with.
Before You Leave the Stand
The most important tracking happens in the seconds after the shot. Watch where your shot hits as best you can. Then pick out a hard landmark where the deer was standing and another where you last saw it. In thick Southern woods, everything looks different once you’re on the ground, so commit those spots to memory or snap a quick photo from the stand.
Watch how the deer reacts. Realtree describes a rear-leg kick or hunched posture as possible clues. Neither reaction proves which organs were hit. Record what you saw and combine it with the shot angle, impact location, arrow evidence and trail rather than making a recovery decision from the reaction alone.
Then stay put. Realtree advises staying still and quiet in the stand, especially if other deer are around. Pushing a wounded deer is one of the most common ways to lose one.
Reading the Sign
When you get down, start at the spot where the deer stood. If you shot an arrow, look at it closely. Blood color is a clue, not a diagnosis. Mossy Oak GameKeeper’s tracking guide associates dark red blood with a possible liver hit and pink, frothy blood with a possible lung hit; bright red blood can also come from muscle. Greenish material and a foul odor can suggest a digestive-tract hit. No single sign confirms the wound, and a sparse trail does not prove the animal will survive.
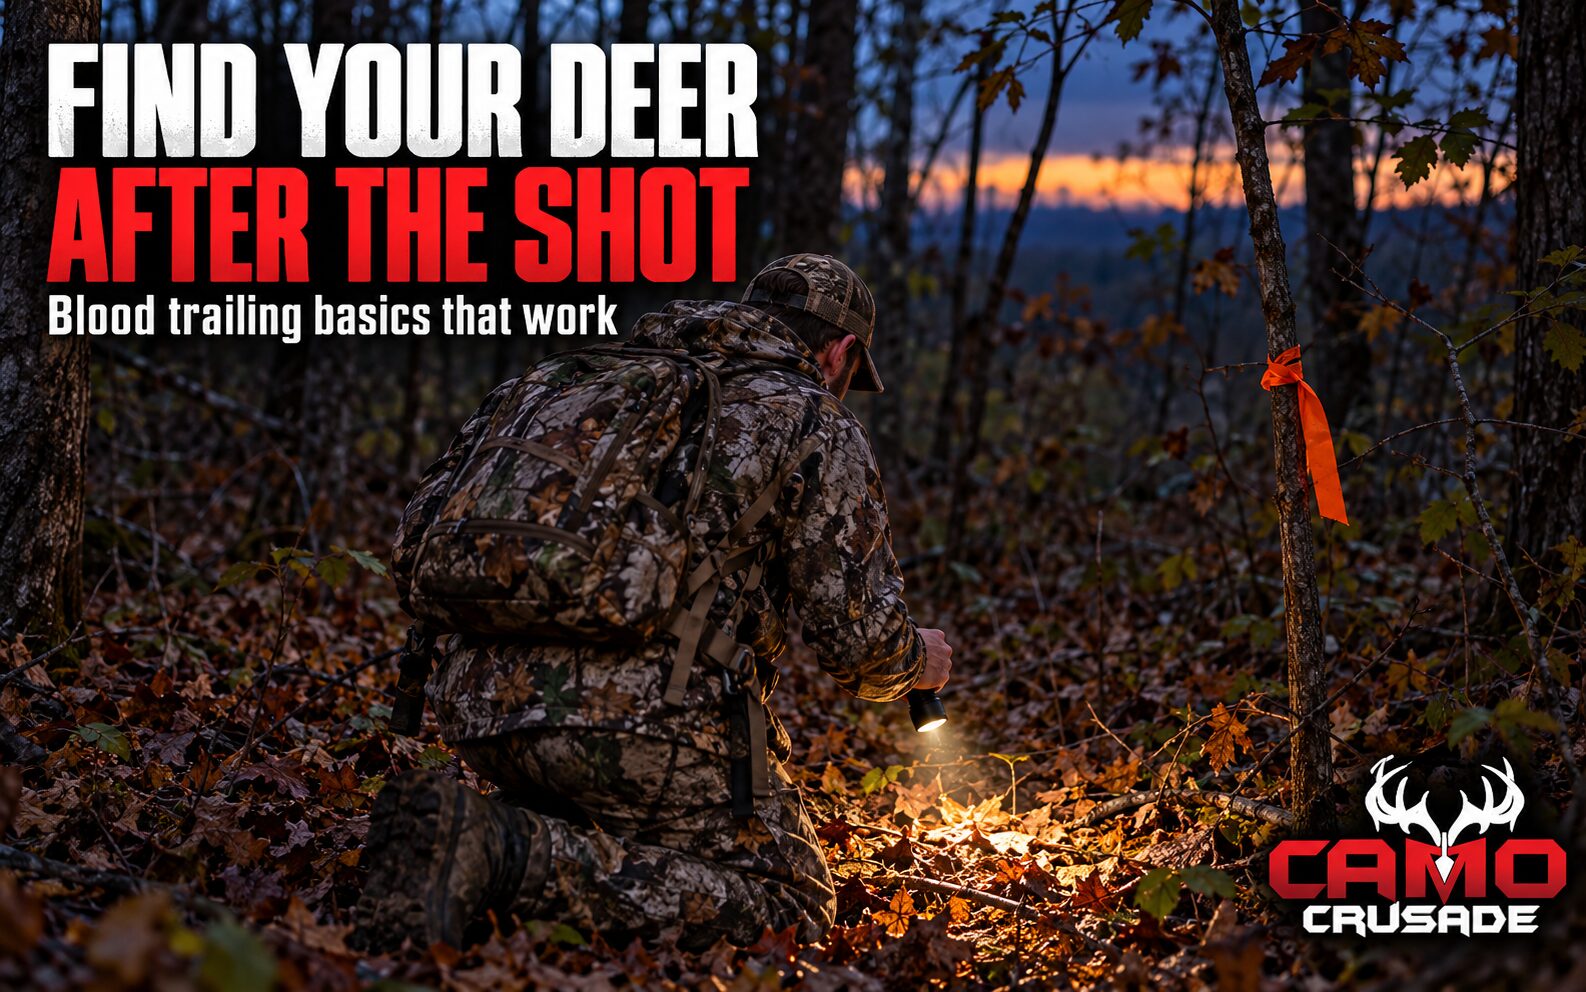
Don’t expect a painted trail. The guide says to look for small drops, often pea-sized or less, and to get low to the ground, especially in fading light. Also check brush and tree trunks at the height of a deer’s body, since blood often smears there instead of falling to the ground. Do not assume that little visible blood means a miss or a nonfatal wound. Investigate the impact site carefully even when the initial trail is thin.
How Long to Wait
There is no one waiting period that fits every wound. Hunter Ed gives a general starting point of at least 30 to 60 minutes unless the downed deer is in sight; suspected liver or gut hits can require much longer. Realtree emphasizes allowing time appropriate to the hit and avoiding pressure on a wounded deer. If placement is uncertain, contact an experienced legal recovery-dog handler or local wildlife officer for guidance before walking through the trail. Warm weather makes prompt recovery and cooling important, but it does not make pushing a live wounded deer a reliable solution. Once recovered, field-dress and cool the carcass promptly and follow applicable tagging and transport rules.
Following a Thin Trail
- Mark last blood. Use permitted flagging or a GPS waypoint before stepping forward. Remove your markers afterward.
- Don’t move ahead blindly. Find the next sign before advancing so you don’t trample or smear the trail.
- Work in arcs. If the trail disappears, stop at the last confirmed sign, mark it and search carefully in widening arcs. Avoid an automatic time threshold or an uncontrolled rush ahead, especially if a recovery dog may be needed.
- Watch for a hook. Wounded deer sometimes circle or double back. If the trail dies, go back and look for a sharp turn.
- Bring a small crew. Realtree suggests two or three people: one on the trail, one flanking and one at last blood.
Realtree also recommends a tracking dog where it’s legal. Rules on tracking dogs, lighted nocks and recovering deer after dark vary by state, so check before you need them. Recovery does not automatically give you permission to enter neighboring land. Arrange landowner permission before crossing a boundary and ask a local wildlife officer if access or recovery rules are unclear. North Carolina’s private-land guidance specifically emphasizes knowing boundaries and obtaining permission.
It Starts With the Shot
The easiest deer to recover is the one that was hit right. Practice at the distances you’ll actually shoot, know your firearm or bow’s limits, and pass on shots through brush or at a bad angle. A good hit and a patient follow-up are the best way to honor the animal you came for.
Check your state’s current regulations on game recovery, tracking dogs and hunting hours before you head out.